Wednesday, May 16, 2012

Belt and Hair Update


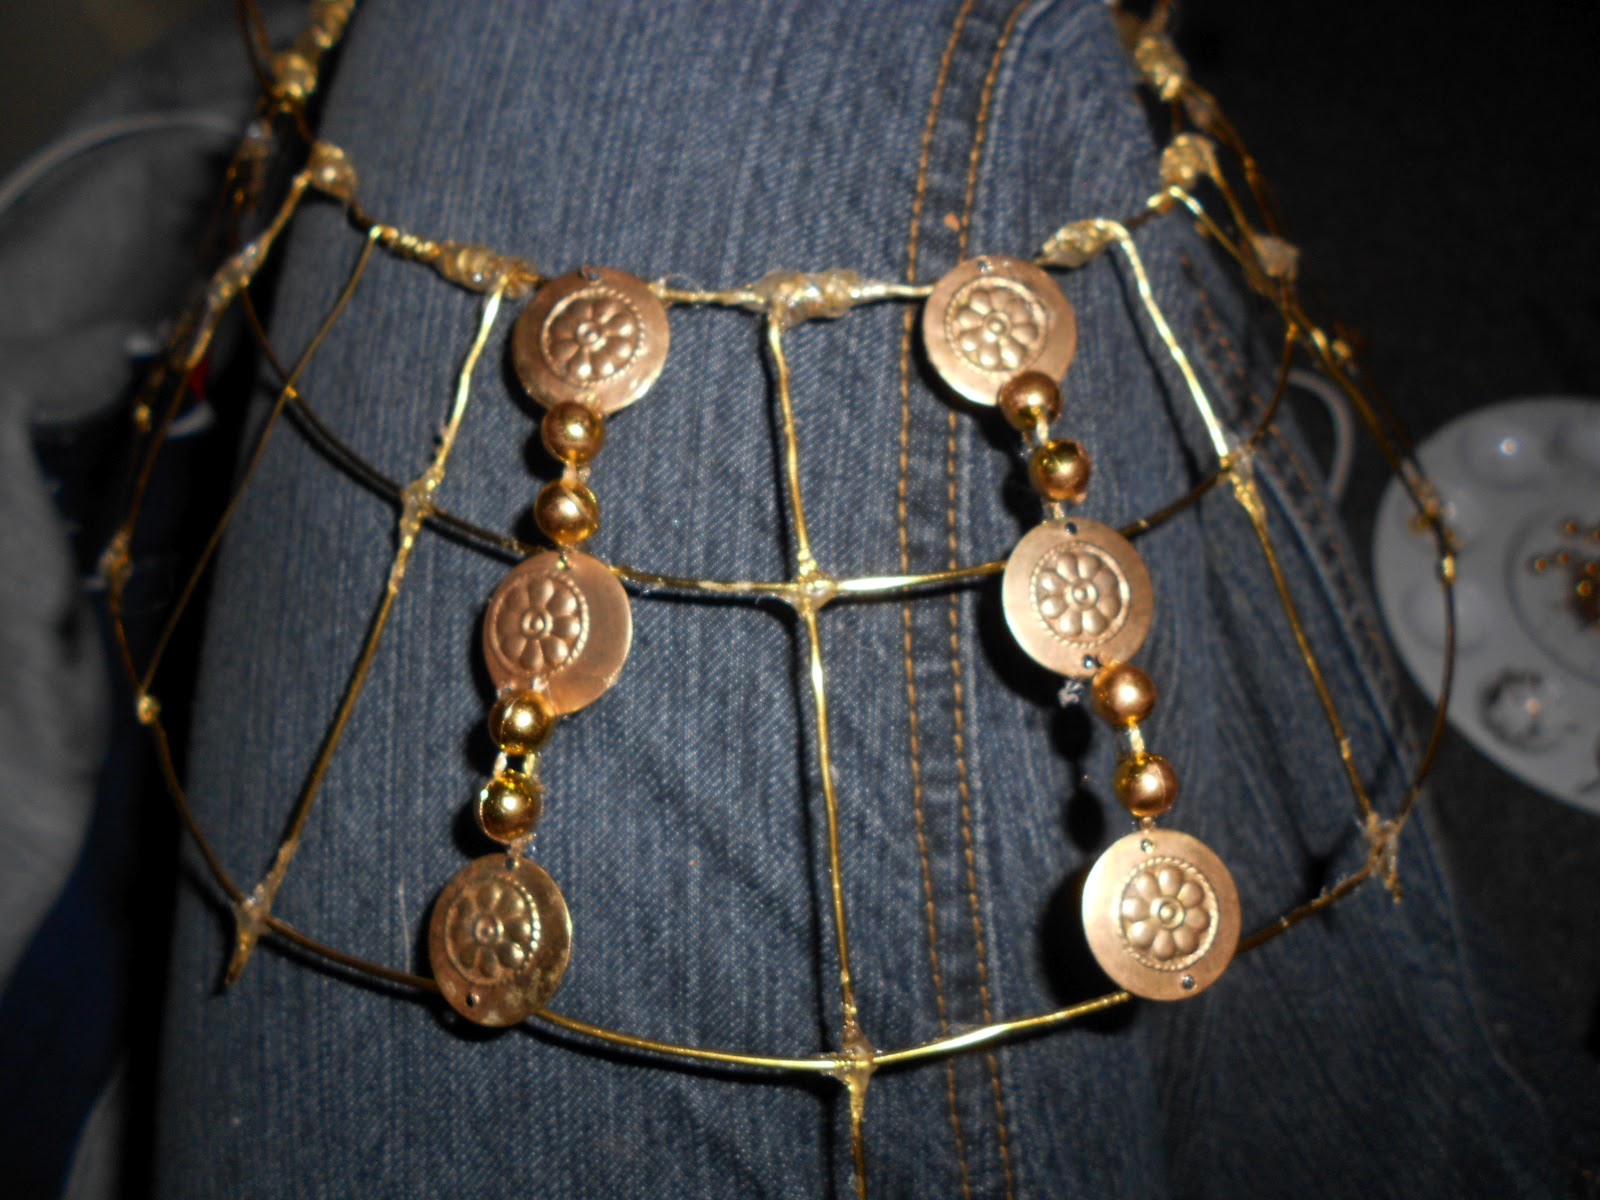
So as I mentioned before I had some more work to be done on the belt.


I really just needed to add in the extra pearl veneers in between the other foam panels. 


This was my attempt to create rolled up, sewn, and spray painted batting tubes for the crazy beehive cone thing on the top of Akasha's head. It may very well have been holding the crown to her head.


Spray paint had postponed any further work as the paint needed quite a bit of time to dry. Even after the suggested 24 hours it wasn't ready to be worked with... D:


Here you can see my horrid closet, Akasha's hair tubes, and Aisha's updated hair tubes.


I was actually trying to update a bit of Aisha when I had the downtime to do so.

The tubes were caulked in varying places, probably about a finger's length apart from one another. Then half inch chunks of kanekalon fiber was gently smudged into the caulk. I had managed to use a little less than a whole tube of caulk making these.

Re-designed


Wow was I pleased with the second attempt/result.


After hot gluing all of the metal bits in place and covering the wrapped edges so they wouldn't tear me to bits, I followed up with the coins and some cut up mardi gras beads to act as spacers between the coins.


So many coins, so little time...


Then came some darted construction/posterboard paper that came in dual tone gold on one side and silver on the other.


After cutting darts like so I taped them up.


Then prepared them for the daunting task of upholding the crown.


Even here the crown is rather impressive


Ah handy dandy hot glue gun... Where would I be without you in this project?


This felt like it took hours. It probably only took me an hour. Maybe hour and a half.


Despite my rather unexcited facade I am quite ecstatic about the progress I made.


I couldn't get the camera to cooperate. Blech


Update on the Crown

Next up: 


So the crown as I had first made it was a hot mess of oh my god why didn't I double check my references.


I managed to find some really great coins that more or less matched the ones the eternal queen bedecked herself with.


 Blech this crown was terrible and not lasting so long as I had any fingers to bend it to my will!


But before I made that decision I endeavored to get a better idea of what pieces need adjusting and where they would generally go. I believe I used all of my pins to hold them in place.


Once again iphoto does not listen to my wants. Whatever.


On to the updated design!

Slowly Catching

After the necklace came ... MORE NECKLACE.


More generic Joanns beads.


Though those beads were used for another loop that would be a spacer for these round discs that were apparently there. Enjoying life I suspect... Cheeky bastards.


My apologies for the bad rotate. My mac was being hateful as was the Internet. That's what I consider to be the signature piece to the lovely Akasha. Props to the costume designers for providing a potential cover in the off chance of escaping breasts. Though they'd likely work terribly in that regard...


Well Well Well

Sadly I did not keep my own goal of recording the entire process of Akasha nor did I get a chance to snap some awesome photos of the finished product...


This photo is after finishing the belt to an almost 90%. Still needed a few things added.

After the belt I began the often frustrating work of figuring out the main neckpiece with the 7+ panels of a size I couldn't quite comprehend. Gah.


So my neckpieces ended up being much larger and pokier than I had anticipated (note to self when bending wire make sure to use needle nose pliers or some sort of jeweler's tools to provide some measure of comfort)


They're all connected to their neighbors via a very thin (low?) gauge wire found in Joann's Fabrics and Crafts.


I ended up redoing it as they were too spread apart to even show more than the middle three panels.


Silly wire     >>'

I was eventually able to connect them to a memory wire necklace that was first strung with some generic plastic beads also from the aforementioned store of goodies and cheap wonder.


As you can see the necklace parts don't go all the way around because I actually like my hair and don't want it (or my wigs even) to be completely wrecked from all of the knots in the wiring.


Jesus I couldn't look more tired. Yeaaa boy, college does that to ya.


Clearly I'll need to update this particular chunk of the necklace as I had organized the panels in the wrong order and need to fix that gap.

Sunday, February 26, 2012

Update on the Belt panel


While I surely don't look too thrilled I was actually quite excited when I finished gluing the pearl pieces onto their foam counterparts.


I'm surprised by how little you can see the black foam edging from far away. Even up close you'd have to be a punk to point it out.


So here it is with the skirt on underneath. I'm pretty happy with the results so far. Just gotta give that belt some extra loving with alternating trapezoidal panel pieces.