Kimdolion's notebook on cosplay, costuming, and general crafting enterprises. Hopefully I'll be keeping everything up to date and provide current WIPs as I progress through something. Whatever that may be...
Showing posts with label Akasha. Show all posts
Saturday, May 19, 2012
The Dark Queen Rises
Test run the night before the con.
The Queen has risen. Those who must be kept are on the prowl...
But at least the Queen has a smile on.
Fuzzy pictures I'm aware. I'm sorry I couldn't/didn't schedule for a photo shoot. I wanted to work out some kinks before I have an accident in the costume...
Despite not being able to comfortably wear the Queen of all vampires all day Friday at Anime Boston '12, I was happy to have finished it. I also managed to win a staff pick ribbon. :D
New plans include Mimiru from .hack//sign, Erza Scarlet's Flight Armor from the Oracion Seis arc of Fairy Tail, Ame Comi Cheetah from DC Universe, and much more...
Labels:
2012,
Aaliyah,
AB12,
Akasha,
Anime Boston,
AnimeBoston,
Cosplay,
Cosplaying,
Costume,
Costuming,
Craft,
Crown,
Model,
Modeling,
QOTD,
Queen of the Damned,
Queenofthedamned,
WIP
Thursday, May 17, 2012
Boyfriend, Bling, and Bra
So the necklace has the round blocks added on.
It's just the thicker/est foamies board from Joanns in black, repainted in gold acrylic paint, and stabbed through the center using a pin and some of the wire holding the other pieces together.
Then I worked on the bra/chestpiece.
Boyfriend being awesome and helping me cut out the pieces.
Glued some interfacing fabric to the back of the foam in order to give it some support as I did with all of the other major foam pieces. The base coat was 3-D fabric paint in gold. It was really shiny and pretty.
Then I sort of freehanded the purple swirls onto the foam cutout. I know I should have patterned it out first. (Will need to update these)
Then cut out more foam bits to make the top section of the backless bra.
Finally added on some of the scraps to add dimension. Which of course failed horribly. I ended up scrapping it for hotglue that was then painted over with the 3-D fabric paint in a lilac-y purple color.
Wednesday, May 16, 2012
Belt and Hair Update
So as I mentioned before I had some more work to be done on the belt.
I really just needed to add in the extra pearl veneers in between the other foam panels.
This was my attempt to create rolled up, sewn, and spray painted batting tubes for the crazy beehive cone thing on the top of Akasha's head. It may very well have been holding the crown to her head.
Spray paint had postponed any further work as the paint needed quite a bit of time to dry. Even after the suggested 24 hours it wasn't ready to be worked with... D:
Here you can see my horrid closet, Akasha's hair tubes, and Aisha's updated hair tubes.
The tubes were caulked in varying places, probably about a finger's length apart from one another. Then half inch chunks of kanekalon fiber was gently smudged into the caulk. I had managed to use a little less than a whole tube of caulk making these.
Re-designed
Wow was I pleased with the second attempt/result.
After hot gluing all of the metal bits in place and covering the wrapped edges so they wouldn't tear me to bits, I followed up with the coins and some cut up mardi gras beads to act as spacers between the coins.
So many coins, so little time...
Then came some darted construction/posterboard paper that came in dual tone gold on one side and silver on the other.
After cutting darts like so I taped them up.
Then prepared them for the daunting task of upholding the crown.
Even here the crown is rather impressive
Ah handy dandy hot glue gun... Where would I be without you in this project?
This felt like it took hours. It probably only took me an hour. Maybe hour and a half.
Despite my rather unexcited facade I am quite ecstatic about the progress I made.
I couldn't get the camera to cooperate. Blech
Slowly Catching
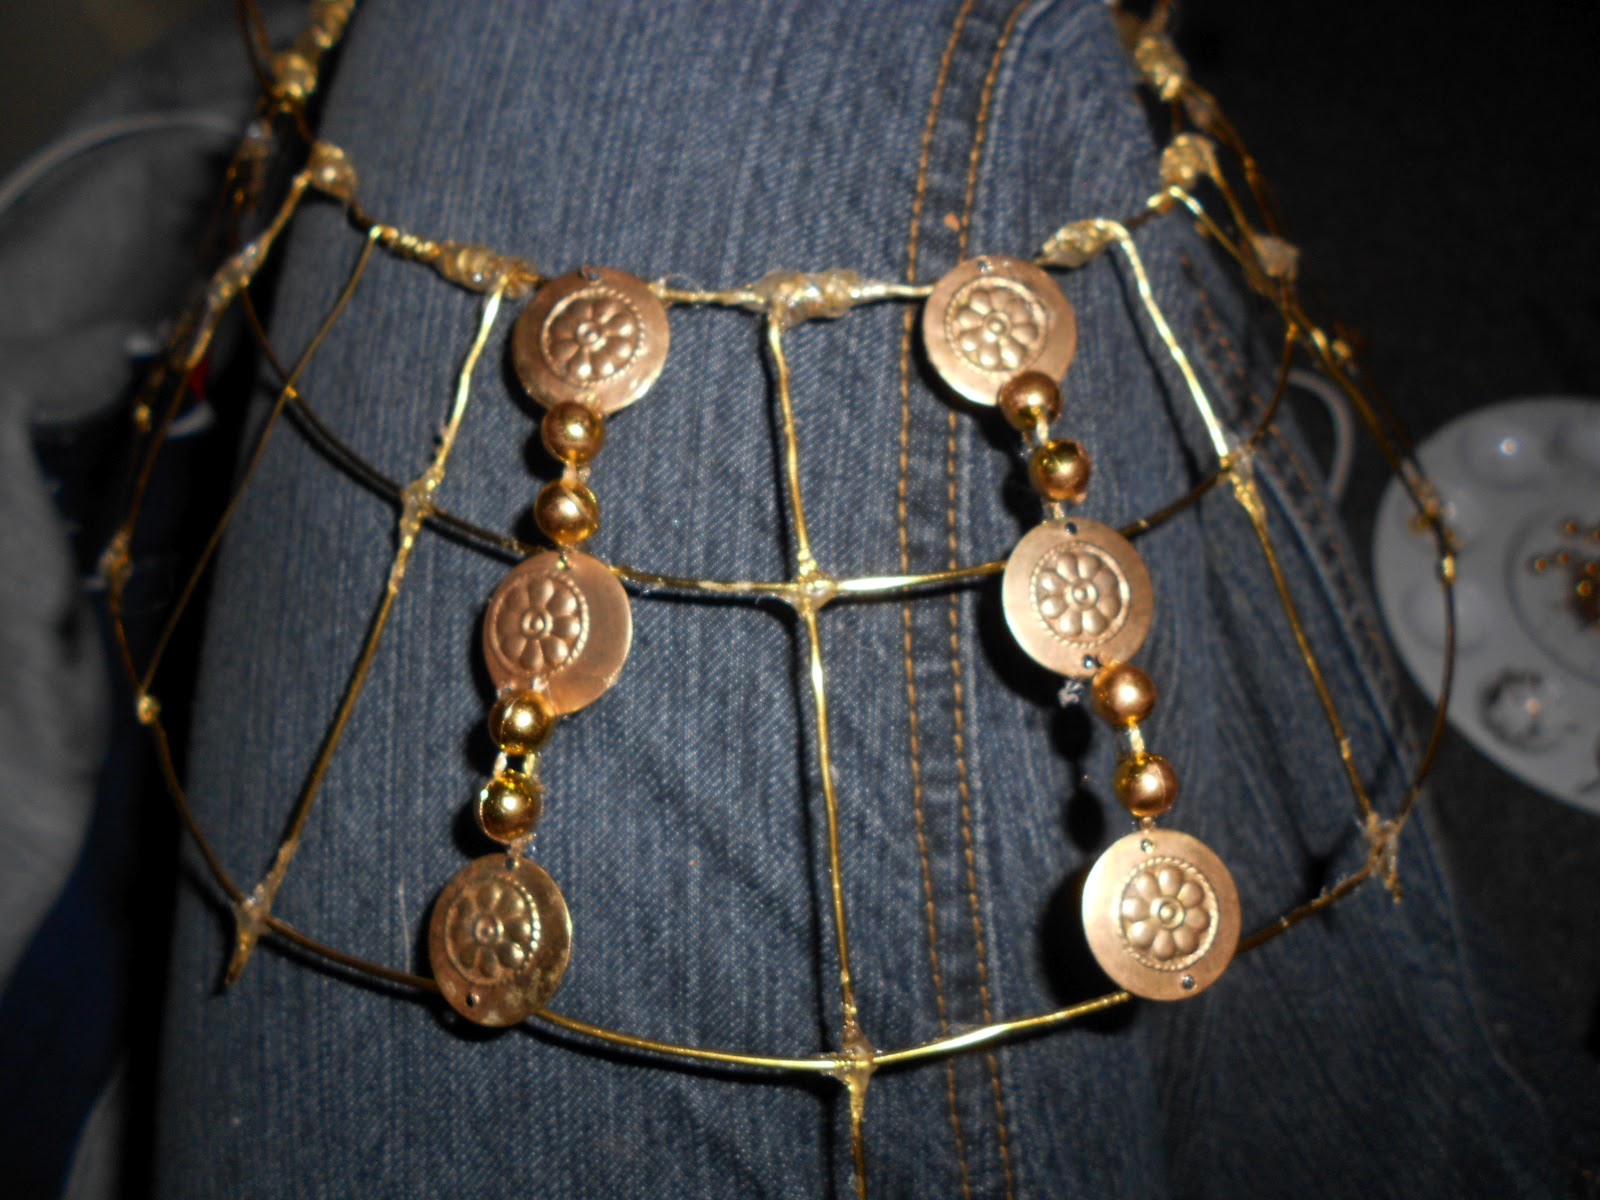
After the necklace came ... MORE NECKLACE.
More generic Joanns beads.
Though those beads were used for another loop that would be a spacer for these round discs that were apparently there. Enjoying life I suspect... Cheeky bastards.
My apologies for the bad rotate. My mac was being hateful as was the Internet. That's what I consider to be the signature piece to the lovely Akasha. Props to the costume designers for providing a potential cover in the off chance of escaping breasts. Though they'd likely work terribly in that regard...
More generic Joanns beads.
Though those beads were used for another loop that would be a spacer for these round discs that were apparently there. Enjoying life I suspect... Cheeky bastards.
My apologies for the bad rotate. My mac was being hateful as was the Internet. That's what I consider to be the signature piece to the lovely Akasha. Props to the costume designers for providing a potential cover in the off chance of escaping breasts. Though they'd likely work terribly in that regard...
Well Well Well
Sadly I did not keep my own goal of recording the entire process of Akasha nor did I get a chance to snap some awesome photos of the finished product...
This photo is after finishing the belt to an almost 90%. Still needed a few things added.
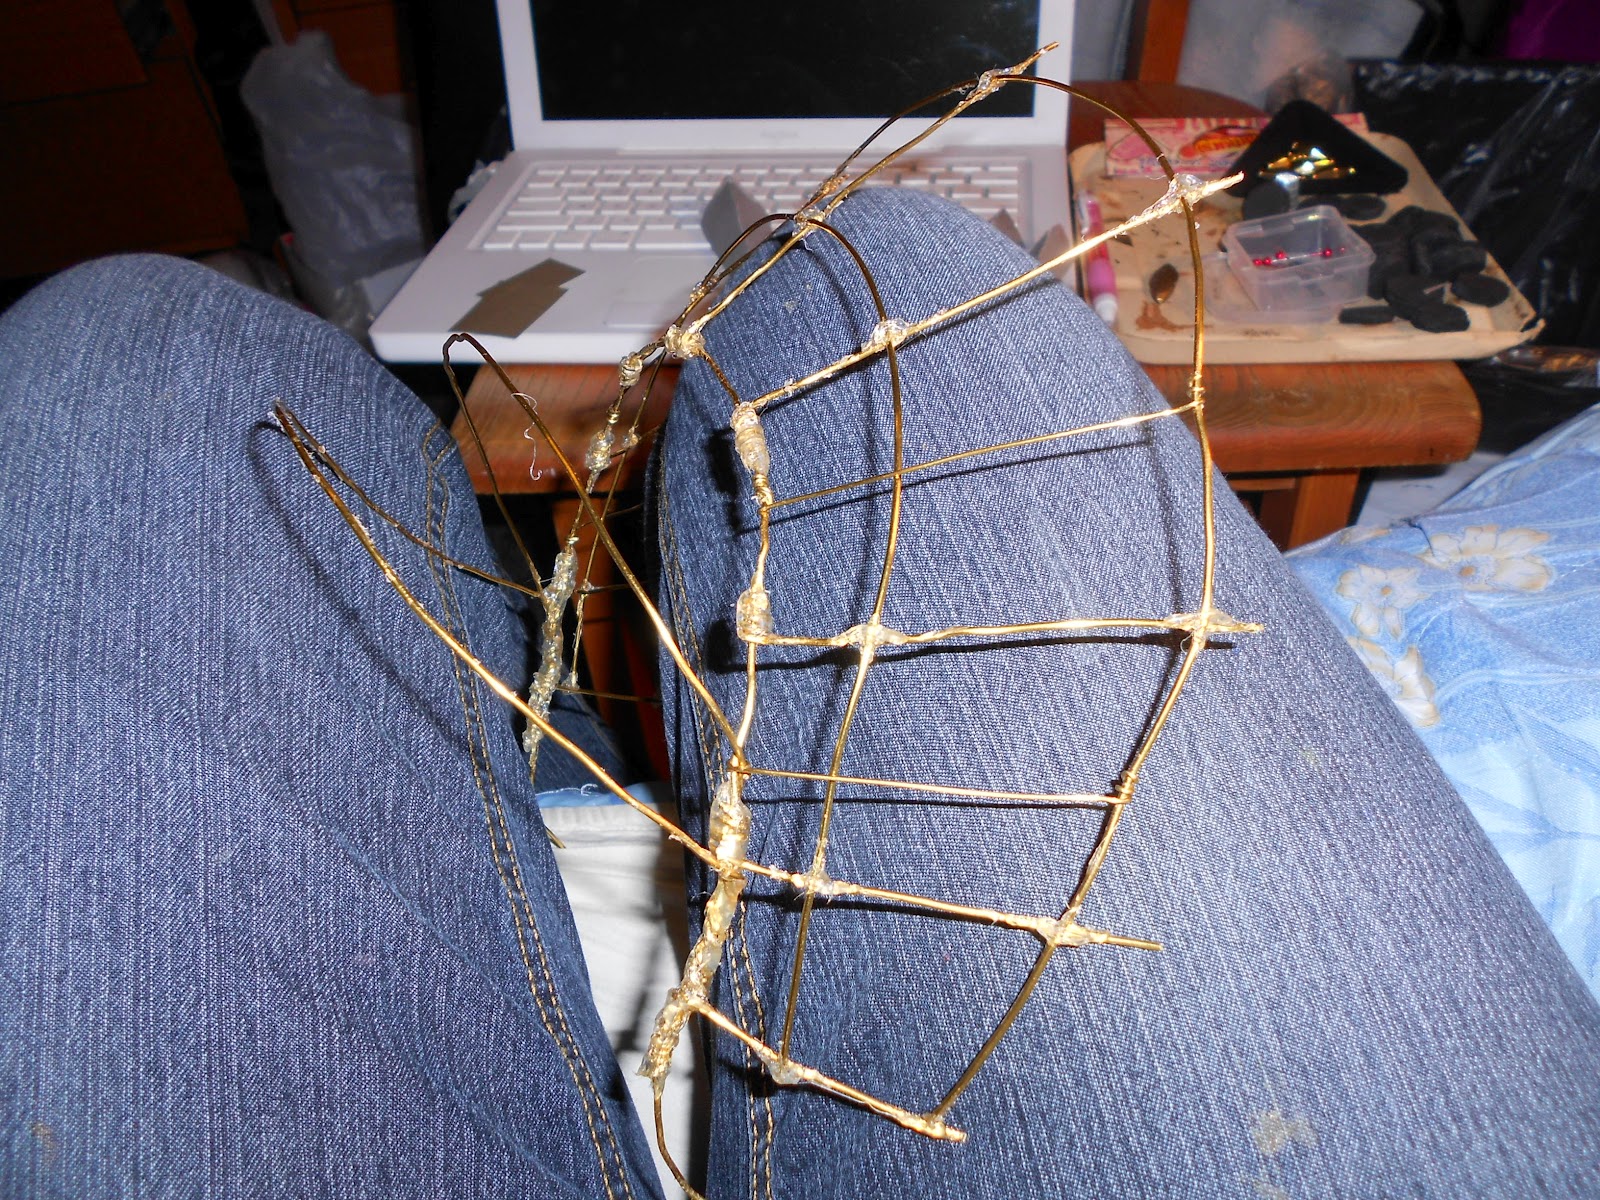
After the belt I began the often frustrating work of figuring out the main neckpiece with the 7+ panels of a size I couldn't quite comprehend. Gah.
So my neckpieces ended up being much larger and pokier than I had anticipated (note to self when bending wire make sure to use needle nose pliers or some sort of jeweler's tools to provide some measure of comfort)
They're all connected to their neighbors via a very thin (low?) gauge wire found in Joann's Fabrics and Crafts.
I ended up redoing it as they were too spread apart to even show more than the middle three panels.
Silly wire >>'
I was eventually able to connect them to a memory wire necklace that was first strung with some generic plastic beads also from the aforementioned store of goodies and cheap wonder.
As you can see the necklace parts don't go all the way around because I actually like my hair and don't want it (or my wigs even) to be completely wrecked from all of the knots in the wiring.
Jesus I couldn't look more tired. Yeaaa boy, college does that to ya.
Clearly I'll need to update this particular chunk of the necklace as I had organized the panels in the wrong order and need to fix that gap.
This photo is after finishing the belt to an almost 90%. Still needed a few things added.
After the belt I began the often frustrating work of figuring out the main neckpiece with the 7+ panels of a size I couldn't quite comprehend. Gah.
So my neckpieces ended up being much larger and pokier than I had anticipated (note to self when bending wire make sure to use needle nose pliers or some sort of jeweler's tools to provide some measure of comfort)
They're all connected to their neighbors via a very thin (low?) gauge wire found in Joann's Fabrics and Crafts.
I ended up redoing it as they were too spread apart to even show more than the middle three panels.
Silly wire >>'
I was eventually able to connect them to a memory wire necklace that was first strung with some generic plastic beads also from the aforementioned store of goodies and cheap wonder.
As you can see the necklace parts don't go all the way around because I actually like my hair and don't want it (or my wigs even) to be completely wrecked from all of the knots in the wiring.
Jesus I couldn't look more tired. Yeaaa boy, college does that to ya.
Clearly I'll need to update this particular chunk of the necklace as I had organized the panels in the wrong order and need to fix that gap.
Labels:
Aaliyah,
Akasha,
Cosplay,
Costume,
Craft,
Craft Wire,
design,
foam,
Kim Wilkes,
Kimdolion,
Necklace,
Neckpiece,
QOTD,
Queen of the Damned,
WIP
Subscribe to:
Posts (Atom)